

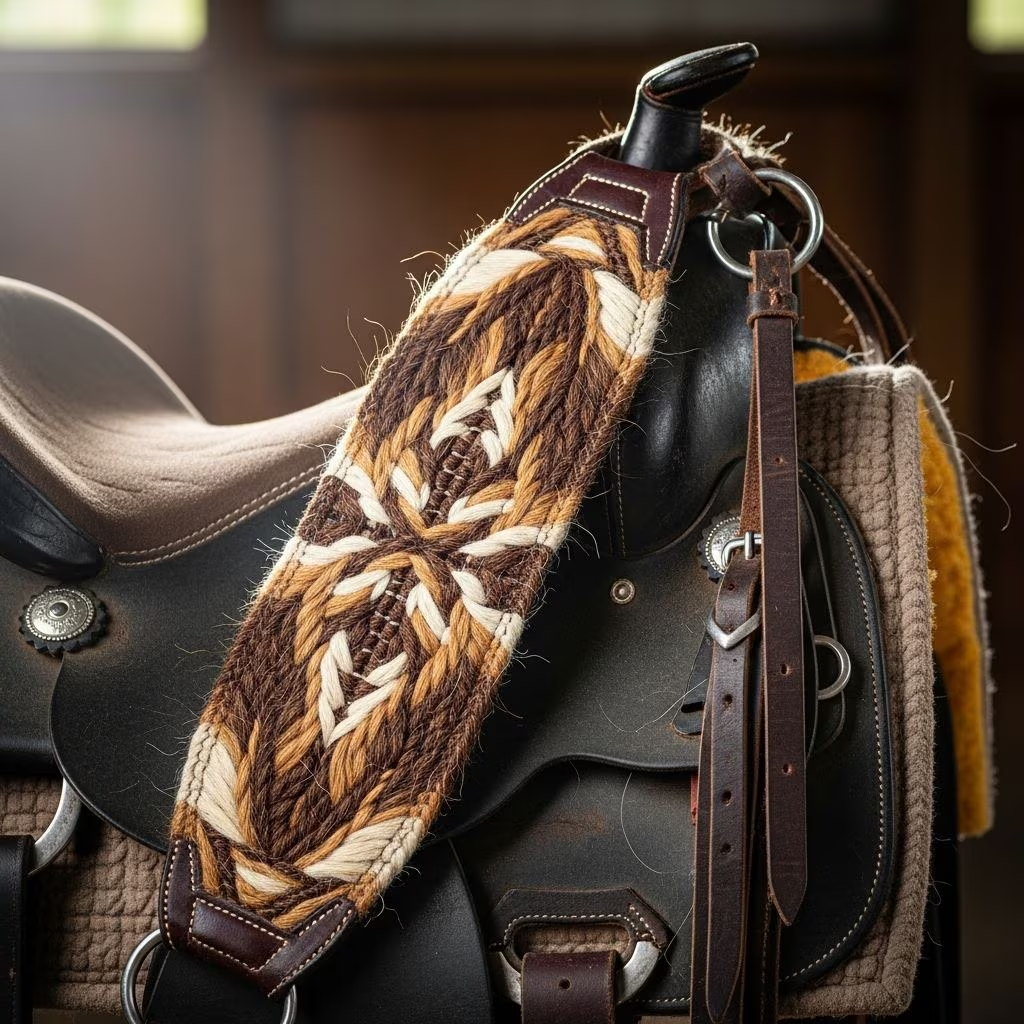
The cinch stands as one of the most critical components in western saddle tacking, serving as the primary connection between saddle and horse. Understanding how to properly measure, select, and secure a cinch directly impacts your safety in the saddle and your horse’s comfort during every ride. This comprehensive guide walks you through every aspect of cinch selection and installation to ensure you get this essential task right.
The Foundation: Understanding Cinch Components and Function
Before diving into measurement and installation, it’s important to grasp the basic architecture of a western cinch system. The cinch strap itself is the main band that wraps around your horse’s body, anchoring your saddle firmly in place. This strap connects to your saddle through dee rings—small attachment points on the saddle’s sides.
The latigo straps represent the mechanism through which you control cinch tension. These adjustable leather or nylon straps allow you to gradually tighten the cinch with precision, rather than forcing it into position all at once. This gradual approach prevents discomfort and ensures even pressure distribution across your horse’s girth area.
A back cinch, while not always necessary, serves an important stabilizing function in certain riding situations. It prevents the saddle from shifting or lifting during demanding activities, particularly when working with cattle or navigating rough, uneven terrain. The back cinch connects to the front cinch through a cinch hobble—a short leather attachment that maintains proper positioning and prevents the back cinch from sliding into sensitive flank areas.
Measuring Your Horse for the Right Cinch Size
Accurate measurement forms the foundation of proper cinch selection. The sizing process is straightforward but requires attention to detail and the help of an assistant.
Step-by-Step Measurement Process
- Position the saddle: Place your western saddle on your horse’s back in the position it will occupy during riding. Ensure the saddle sits naturally without any artificial positioning.
- Locate the reference points: Identify the dee rings on both sides of the saddle. These rings mark the points from which the cinch will hang once installed.
- Measure across: Using a soft measuring tape, have your assistant hold one end at the front-facing dee ring while you extend the tape across your horse’s girth to the corresponding dee ring on the opposite side.
- Calculate the size: Subtract 6 to 8 inches from your total measurement. If the distance between dee rings measures 40 inches, for example, your proper cinch size will be either 32 or 34 inches.
Standard Sizing Range
Western cinches come in standardized 2-inch increments, making selection straightforward. The most common sizes range from 26 to 36 inches, with 26, 28, 30, 32, 34, and 36 being the typical available options. Ponies and certain warmblood breeds may require sizes outside this standard range, but most adult horses fit comfortably within these measurements.
Positioning: The Critical 3-4 Inch Rule
Once you’ve determined the correct size, proper positioning becomes essential. A golden rule in western riding specifies that your cinch should sit approximately 3 to 4 inches above your horse’s elbow when properly tightened. This positioning ensures adequate space for shoulder movement while maintaining secure saddle placement.
Position the cinch so it sits in the girth groove—the natural depression in your horse’s body behind the front legs. Avoid positioning it too far forward, where it might interfere with shoulder movement or create pressure on the chest. Similarly, positioning it too far back can cause the saddle to shift forward during riding, creating pressure on sensitive shoulder structures.
The dee rings on your cinch should remain centered rather than being pulled tightly between the horse’s girth and shoulder. This centered positioning ensures pressure distributes evenly across both sides of the horse’s body, preventing localized irritation or soreness.
Cinch Material Selection and Durability
Modern western cinches employ various materials, each offering distinct advantages depending on your riding style and horse’s needs.
| Material Type | Characteristics | Best For |
|---|---|---|
| Mohair | Highly durable, excellent moisture-wicking, traditional choice | Long-distance riding, hot climates |
| Fleece | Soft, comfortable, good for sensitive horses | Horses prone to chaffing, arena work |
| Neoprene | Modern synthetic, easy to clean, consistent support | Frequent riders, varied weather conditions |
| Leather | Classic durability, requires conditioning, develops character | Traditional ranching, heavy work |
Each material provides its own balance of durability, breathability, and protection. Your choice should reflect your specific riding activities, your horse’s sensitivity level, and your maintenance preferences.
Cinch Styles and Their Applications
Beyond material selection, cinch designs vary to accommodate different riding disciplines and horse body types.
Roper Cinches
Roper cinches feature a wider profile that distributes pressure across a larger surface area. This design originated from ranch work where the additional surface helps manage the significant forces created by roping cattle. The roper style has gained popularity among trail riders because it prevents saddle shifting on steep, uneven terrain while providing excellent weight distribution and comfort.
Contoured or Anatomical Cinches
These cinches taper near the horse’s armpits, creating space for shoulder movement and reducing irritation in sensitive areas. Contoured designs prove particularly valuable for horses with difficulty performing lateral movements or spinning maneuvers, or for horses that quickly develop armpit soreness. Many modern equestrian athletes prefer anatomical cinches because they provide the freedom of motion necessary for advanced movements.
Double-Layer Cinches
Double-layer cinches, typically constructed with two layers of mohair or similar material, provide enhanced support and durability. The additional structural layer resists wear and maintains consistent pressure distribution even during demanding activities. These cinches often feature roper or contoured styling, combining the benefits of multiple design elements.
Installation and Tightening Technique
Proper installation requires a systematic approach that prioritizes your horse’s comfort throughout the process.
The Gradual Tightening Method
Never attempt to fully tighten your cinch in a single motion. Instead, adjust the latigo straps in stages, working both sides equally to maintain balanced pressure. Start with a comfortable snug fit, then gradually increase tension as your horse relaxes and adjusts to the saddle’s weight. This approach prevents discomfort and resisting behavior while ensuring secure placement.
Achieving Even Pressure Distribution
Maintain equal space between the cinch and saddle on both sides of your horse. Uneven tightening causes the saddle to sit at an angle, creating pressure points and compromising stability. Take time to check both sides visually and adjust as needed before mounting.
Attachment Point Verification
Ensure the cinch attaches securely through the dee rings with no slack remaining. A properly fastened cinch prevents dangerous shifting during riding. Take time to verify secure attachment before every ride, checking both the main dee ring connection and any auxiliary attachment points.
The Back Cinch: When and Why
While the front cinch handles primary saddle stability, a back cinch provides additional security in specific situations. Back cinches remain necessary primarily for cattle roping, where the tension created by a taut rope pulling against the saddle horn could otherwise lift the saddle’s rear.
Beyond roping, back cinches benefit riders working on steep terrain where saddle stability becomes challenging. Horses with unusual body shapes sometimes require a back cinch to maintain proper alignment when a front cinch alone proves insufficient. Additionally, if you notice your saddle rattling or moving during groundwork, a back cinch can eliminate this instability.
Should you decide to use a back cinch, remember that it serves a supporting role rather than a primary function. Never tighten the back cinch as firmly as the front cinch. The cinch hobble that connects them prevents the back cinch from sliding backward into sensitive flank areas, a critical safety consideration.
Common Cinch Fitting Mistakes to Avoid
Several preventable errors compromise cinch effectiveness and horse comfort:
- Incorrect sizing: Using cinches too large or too small creates pressure points and instability. Always measure before purchasing and verify fit with actual saddle placement.
- Improper positioning: Placing the cinch too far forward or backward interferes with movement and creates discomfort. Remember the 3-4 inch rule above the elbow.
- Uneven tightening: Adjusting one side more than the other tilts the saddle and compromises security. Always work both latigo straps equally.
- Neglecting material compatibility: Selecting materials inappropriate for your horse’s sensitivity level or climate creates chaffing and sores. Choose materials matching your specific conditions.
- Ignoring maintenance: Dirty or deteriorated cinches lose effectiveness and can cause irritation. Regular cleaning and inspection maintain optimal performance.
Frequency of Cinch Inspection and Maintenance
A properly maintained cinch lasts for years and continues protecting both horse and rider. Inspect your cinch before each ride for signs of damage, wear, or deterioration. Look for fraying edges, broken stitching, or material degradation that might compromise structural integrity.
Regular cleaning prevents buildup of sweat, dirt, and bacteria that contribute to chaffing and skin irritation. Leather cinches benefit from occasional conditioning to maintain flexibility and durability. Synthetic materials require less maintenance but still benefit from periodic cleaning with appropriate products.
Frequently Asked Questions
How do I know if my cinch is too tight?
A cinch that’s too tight will cause your horse to demonstrate discomfort behaviors such as bucking, rearing, or extreme reluctance to move forward. During mounting, your horse might tense muscles or hold their breath. The cinch should be snug enough to keep the saddle secure but loose enough to allow for breathing and comfortable movement.
Can I use the same cinch size on different saddles?
Not necessarily. Different saddles have varying dee ring distances, which means the same horse might require different cinch sizes for different saddles. Always measure each saddle-horse combination individually rather than assuming sizes will match.
How often should I replace my cinch?
Well-maintained cinches last for several years. Replace yours when you notice structural damage that cleaning and conditioning cannot repair, or when material deterioration compromises security or comfort. Regular inspection helps you catch problems before they affect your safety.
Is a back cinch necessary for western riding?
A back cinch becomes necessary if you rope cattle, ride steep terrain, or notice saddle instability with your front cinch alone. For casual trail riding and arena work with a properly fitting front cinch, a back cinch is optional but not essential.
References
- Understanding Western Horse Cinches — Horse and Rider Magazine. 2024. https://horseandrider.com/how-to/best-horse-cinch/
- How To Cinch A Saddle – A Guide — ThinLine Global. 2024. https://thinlineglobal.com/blog/how-to-cinch-a-saddle
- What Should I Know About Cinches — Euro-horse Western Riding. 2024. https://www.euro-horse.nl/us/blogs/western-blogs/what-should-i-know-about-cinches/
- How to Measure for the Right Western Cinch Size — Saddle Up, Western Saddle & Tack Shop. September 26, 2025. https://www.youtube.com/watch?v=9j4gl3W6v60



