

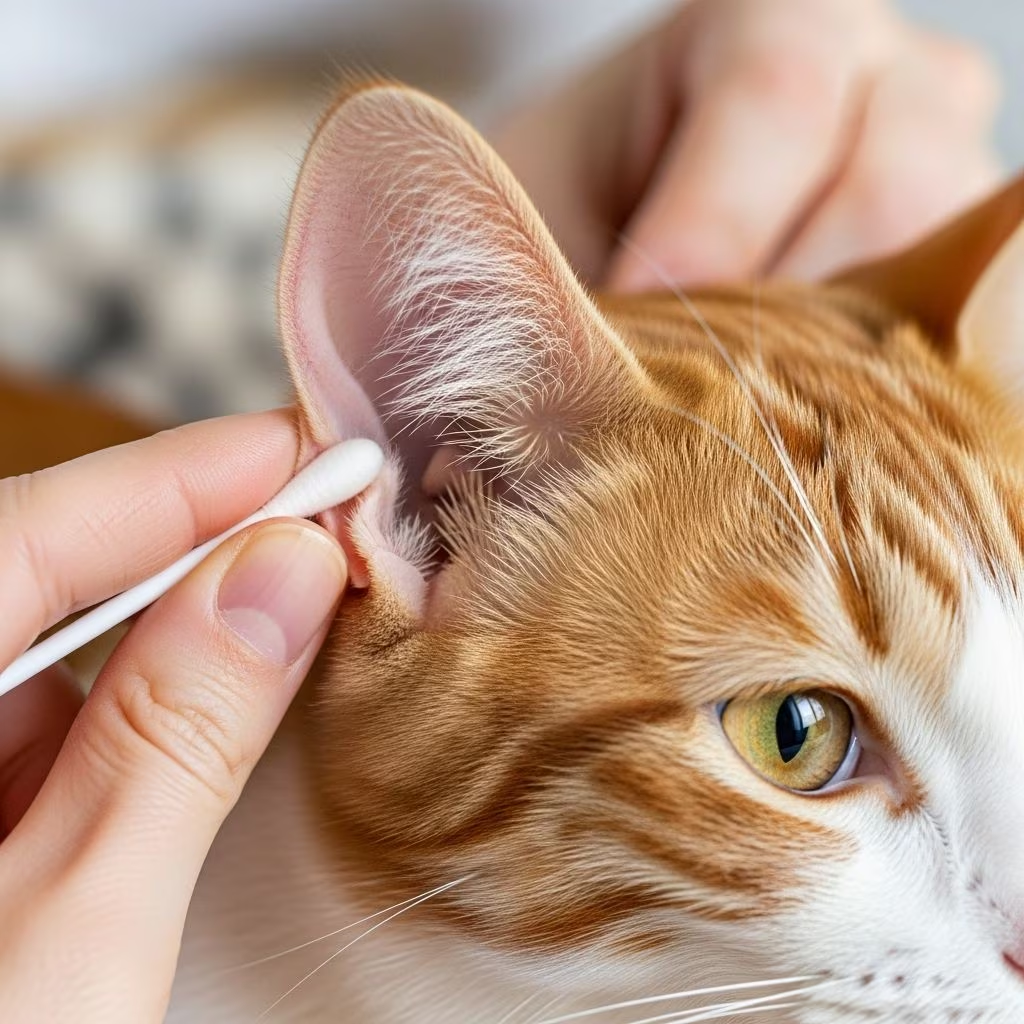
Instructions for Ear Cleaning in Cats
Regular ear cleaning is an important part of maintaining your cat’s overall health and preventing ear infections and other complications. While many cats naturally keep their ears clean, some may require periodic cleaning to remove excess wax, debris, and buildup. Understanding the proper technique for cleaning your cat’s ears is essential to ensure you do not accidentally cause injury while performing this important grooming task. This comprehensive guide will walk you through the process of safely and effectively cleaning your cat’s ears at home.
Why Cat Ear Cleaning Matters
Your cat’s ears are sensitive structures that require proper care and attention. Excess wax and debris can accumulate in the ear canal, creating an environment where bacteria and yeast can thrive. This buildup can lead to ear infections, discomfort, and hearing problems if left unaddressed. Regular ear cleaning helps maintain healthy ears and allows you to monitor for any signs of infection or disease. Additionally, cats with floppy ears, outdoor cats, or those prone to ear infections may require more frequent cleaning than others.
Gathering the Necessary Supplies
Before you begin the ear cleaning process, it is important to gather all necessary supplies and have them within arm’s reach. Being prepared will make the process smoother and more efficient for both you and your cat.
Essential supplies include:
– A cat-specific ear cleaning solution recommended by your veterinarian- Soft cotton balls or gauze pads- A clean towel or blanket- Treats to reward your cat after the procedure- Alcohol wipes for sanitizing the bottle tip if necessary
Never use human ear cleaning products, as these may contain ingredients that are harmful to cats. Always consult with your veterinarian before purchasing an ear cleaning solution to ensure it is appropriate for your cat’s specific needs and ear condition.
Step-by-Step Instructions for Cleaning Your Cat’s Ears
Step 1: Position Your Cat Comfortably
Start by washing your hands thoroughly to prevent introducing bacteria into your cat’s ears. Sit in a comfortable position and place your cat in your lap, facing away from you. This positioning allows you to have good access to both ears while maintaining control of your cat during the process. If your cat tends to move around or resist handling, gently wrap her in a soft towel, leaving only her head exposed. This provides your cat with a sense of security while preventing sudden movements that could cause injury. Having another person available to help hold your cat can be particularly beneficial, especially if your cat is anxious or resistant to ear cleaning.
Step 2: Hold the Ear Cleaning Solution Ready
Hold the ear cleaning solution bottle in your dominant hand, keeping it within easy reach. Make sure the solution is at room temperature, as cold solutions can be uncomfortable for your cat and may cause them to shake their head unexpectedly.
Step 3: Expose the Ear Canal Properly
Using your non-dominant hand, gently but firmly grasp the tip of your cat’s ear and pull it back slightly. This motion helps expose the ear canal and straightens its natural curves, making it easier to apply the cleaning solution effectively. Be careful not to pull too hard, as this can cause discomfort or injury. The goal is simply to create better visibility and access to the ear opening.
Step 4: Apply the Ear Cleaning Solution
Carefully squeeze the ear cleaning solution into your cat’s ear canal. Use enough solution to completely fill the ear canal, though it is perfectly acceptable if some of the cleaner spills out. The key is to avoid inserting the tip of the bottle directly into the ear canal. Keeping the bottle tip slightly above or at the opening of the ear prevents accidental puncture of the eardrum if your cat suddenly moves. If the bottle tip does touch your cat’s ear, it is important to sanitize it immediately by wiping it with a clean cotton ball soaked in alcohol. This prevents the spread of bacteria or yeast between ears or to other animals.
Step 5: Massage the Ear Base
While continuing to hold the ear flap back with one hand, use your other hand to gently massage the base of the ear below the ear opening. Apply gentle, circular motions for approximately 30 seconds. During this massage, you will likely hear a “squishing” sound, which is completely normal and indicates that the cleaning solution is moving through the ear canal and breaking up debris and wax buildup. This massage action is crucial for loosening stubborn debris that may be stuck to the walls of the ear canal.
Step 6: Remove Debris From the Inner Ear
After massaging, while still holding the ear flap, use a cotton ball or gauze pad to gently wipe away any debris, wax, and cleaning solution that has emerged from the inner part of the ear flap and upper ear canal. Be gentle during this step to avoid causing discomfort or irritation. Only wipe away material that is easily accessible and visible to the naked eye.
Step 7: Clean the Ear Canal Safely
Using a fresh cotton ball or gauze pad, carefully remove any remaining debris and cleaning solution from inside the ear canal. Important: only insert the cotton ball or gauze as far as your finger will reach into the canal. This guideline ensures you do not accidentally push material deeper into the ear or damage delicate structures. Never attempt to clean deeper areas of the ear canal without professional veterinary assistance.
Step 8: Repeat on the Other Ear
Once you have completed the cleaning process on the first ear, repeat all steps on your cat’s other ear. Remember to use fresh cotton balls for each ear to prevent cross-contamination between ears.
Step 9: Reward Your Cat
After completing the ear cleaning process, reward your cat with praise, treats, or gentle petting. This positive reinforcement helps create a favorable association with ear cleaning, making future cleanings easier and less stressful for your cat.
Critical Safety Precautions
Never Use Cotton-Tipped Applicators (Q-Tips)
One of the most important safety rules when cleaning cat ears is to never use cotton-tipped applicators, commonly known as Q-tips. These devices pose a serious risk to your cat’s ear health. Cotton swabs can easily puncture the eardrum or cause significant trauma to the delicate ear canal structures. Additionally, inserting cotton swabs deep into the ear canal often pushes debris further into the ear rather than removing it, potentially making the problem worse. The rigid tip of a cotton swab is incompatible with the sensitivity of a cat’s inner ear anatomy. Cotton balls and gauze pads are much safer alternatives because they are softer and conform to the ear canal naturally without risk of perforation.
Avoid Harmful Cleaning Agents
Never use human ear cleaning products, hydrogen peroxide, vinegar, rubbing alcohol, or other household substances on your cat’s ears. These products can be irritating, drying, or toxic to cats. Hydrogen peroxide, in particular, can dry out the delicate ear canal lining and disrupt the natural balance of ear flora. Always use a veterinarian-recommended ear cleaning solution specifically formulated for cats. Your veterinarian can recommend products that are safe, effective, and appropriate for your cat’s individual ear health needs.
Handle With Gentleness
Cats have extremely sensitive ear canals and ear flaps. Overly aggressive or rough handling during the ear cleaning process can cause serious damage to these delicate structures and may result in pain, inflammation, or infection. Always use slow, gentle movements and watch your cat for signs of discomfort. If your cat shows signs of pain, distress, or tries to pull away, stop the procedure immediately and consult with your veterinarian.
Frequency of Ear Cleaning
Most healthy cats with clean ears do not require frequent ear cleaning. The frequency depends on your individual cat’s needs and ear condition. Check your cat’s ears regularly during grooming sessions, looking for signs of excessive wax buildup, discharge, odor, or debris. Clean ears only when necessary to prevent irritation from over-cleaning. If you notice signs of infection such as redness, swelling, discharge, foul odor, or if your cat frequently scratches at their ears, contact your veterinarian promptly. Some cats, particularly those prone to ear infections or those with certain ear conditions, may require more frequent professional cleaning by a veterinarian.
When to Seek Professional Help
While home ear cleaning can be effective for routine maintenance, there are situations where professional veterinary assistance is necessary. If your cat has a history of ear infections, shows signs of severe ear disease, has excessive discharge or debris, or displays pain or resistance to cleaning, consult your veterinarian. Additionally, if you are uncertain about the proper technique or uncomfortable performing the procedure, a veterinary professional can demonstrate the correct method or perform the cleaning for you. Your veterinarian can also identify underlying ear conditions that may require medical treatment beyond simple cleaning.
Frequently Asked Questions About Cat Ear Cleaning
Q: How often should I clean my cat’s ears?
A: Most healthy cats only need occasional ear cleaning when you notice visible buildup or debris. Some cats may never require cleaning, while others prone to ear infections may need more frequent attention. Always follow your veterinarian’s recommendations for your specific cat.
Q: Can I use warm water instead of ear cleaning solution?
A: While some experts suggest warm water on a cotton ball can rinse residue after cleaning with proper solution, you should never pour water directly into the ear canal. Always use a veterinarian-recommended ear cleaning solution for the main cleaning process.
Q: What does the “squishing” sound during ear massage mean?
A: The squishing sound indicates that the cleaning solution is properly distributed throughout the ear canal and is breaking up debris and wax buildup. This is a positive sign that the massage is working effectively.
Q: Is it normal for my cat to shake their head during cleaning?
A: Yes, head shaking is a completely normal response. It helps loosen debris and allows your cat to expel excess cleaning solution. This is actually beneficial to the cleaning process.
Q: What should I do if the bottle tip touches my cat’s ear?
A: If the bottle tip makes contact with your cat’s ear, immediately sanitize it by wiping with a clean cotton ball soaked in alcohol. This prevents the spread of bacteria or yeast between ears.
Q: Why shouldn’t I use cotton swabs in my cat’s ears?
A: Cotton swabs can puncture the eardrum, cause trauma to the ear canal, or push debris deeper into the ear. Cotton balls and gauze are much safer alternatives for your cat.
Q: What are signs that my cat’s ears need cleaning?
A: Look for visible dirt, excessive wax buildup, discharge, foul odor, redness, or if your cat frequently scratches at their ears. If you notice any of these signs, cleaning may be necessary.
Q: Can I clean my cat’s ears if they show signs of infection?
A: If you suspect an ear infection, consult your veterinarian before attempting home cleaning. Professional diagnosis and treatment may be necessary to properly address the underlying condition.
Summary
Cleaning your cat’s ears at home can be a safe and effective way to maintain ear health when done properly. Following these detailed instructions and safety guidelines helps ensure that you provide proper ear care without causing injury or discomfort to your feline companion. Remember to always use veterinarian-recommended cleaning solutions, handle your cat gently, avoid cotton swabs, and watch for signs that professional veterinary care may be needed. Regular monitoring of your cat’s ears combined with appropriate cleaning when necessary contributes to your cat’s overall health and comfort.
References
- Instructions for Ear Cleaning in Cats — VCA Animal Hospitals. 2025. https://vcahospitals.com/know-your-pet/instructions-for-ear-cleaning-in-cats
- How to Clean Your Cat’s Ears Safely and Effectively — Skout’s Honor. 2025. https://blog.skoutshonor.com/how-to-clean-your-cats-ears-safely-and-effectively
- Safe Pet Ear Care: Follow Your Vet’s Advice Before Cleaning Your Pet’s Ears — MyVet Ireland. 2025. https://www.myvet.ie/news/210-safe-pet-ear-care-follow-your-vets-advice-before-cleaning-your-pets-ears
- How to Clean Cat Ears: A Step-by-Step Guide — Hill’s Pet US. 2025. https://www.hillspet.com/cat-care/routine-care/how-to-clean-cats-ears
- The Best (and Safest) Ways to Clean Your Cat’s Ears — GoodRx Pet Health. 2025. https://www.goodrx.com/pet-health/cat/how-to-clean-cat-ears
- Cleaning Your Cat’s Ears — Virbac US. 2025. https://us.virbac.com/home/cat/ear-health/cleaning-your-cats-ears.html



