

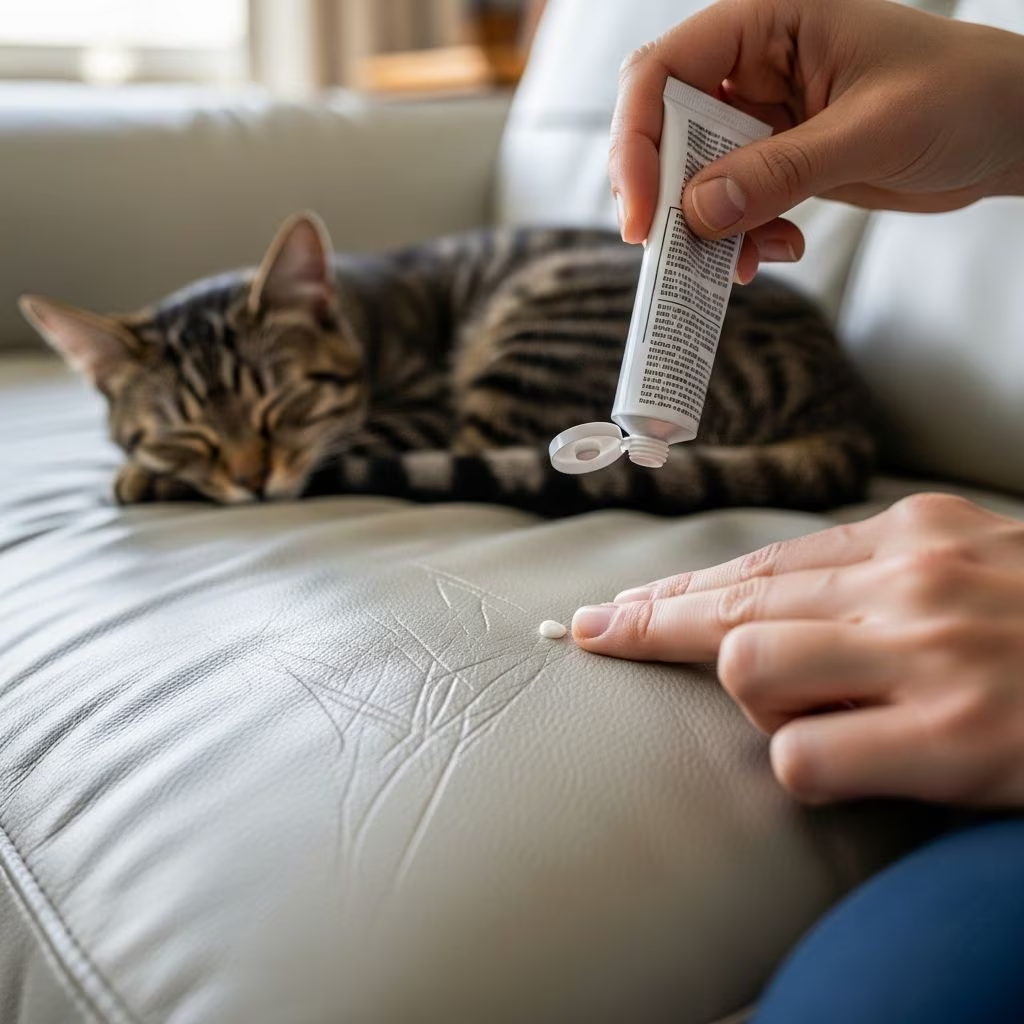
How to Fix Cat Scratches on Leather: A Complete DIY Repair Guide
Cat owners know that feline companions can inadvertently damage leather furniture with their sharp claws. Whether your cat has left light surface scratches or deep gouges on your beloved leather sofa, couch, or armchair, the good news is that many of these damages can be repaired using DIY methods without requiring expensive professional restoration services. This comprehensive guide covers everything you need to know about assessing, treating, and finishing cat scratch repairs on leather furniture.
Understanding Cat Scratch Damage on Leather
Before attempting any repair, it’s essential to understand the types of damage that cats typically inflict on leather. Not all scratches are created equal, and identifying the specific type of damage will determine which repair method you should use.
Type 1: Surface-Level Scratches
The first type of damage occurs when cats scratch the surface of leather cushions or sides, creating light scratches that primarily affect the protective coating rather than the leather itself. These scratches appear as faint lines or areas where the color has been partially removed. For this lighter damage, a simple color restoration product like a Leather Re-Coloring Balm is typically sufficient to restore appearance and blend the scratches with surrounding leather.
Type 2: Deep Gouges and Fiber Damage
The second and more severe type of damage occurs when cats sink their claws deeply into the leather, extracting fibers and creating visible gouges. When the cat pulls its claws away, it draws out the leather fibers, leaving rough, unsightly damage that requires more intensive repair work. This type of damage is more noticeable and demands a multi-step restoration approach using leather binders, fillers, and colorants.
Materials and Tools You’ll Need
Successful leather repair requires having the right materials on hand. Here’s what you should gather before starting your project:
- Leather cleaner or leather ultra clean solution
- Sharp scissors or craft knife
- Leather binder
- Heavy filler or soft filler product
- Palette knife or spatula
- Leather colorant or re-coloring balm
- Sponges or airbrush applicator
- Fine-grit sandpaper
- Alcohol cleaner
- Super seal lacquer
- Leather finish product
- Clean cotton cloths
- Optional: Warm iron for steaming
Step-by-Step Repair Process for Cat Scratches
Step 1: Clean and Prepare the Area
The foundation of any successful leather repair begins with thorough cleaning. Use a specialized leather cleaner to remove all dirt, dust, and grime from the damaged area and the surrounding leather. This step is crucial because any residue will interfere with product adhesion and may compromise the final result. Allow the area to dry completely before moving forward.
Step 2: Trim Loose Fibers
After cleaning, examine the scratched area for loose or protruding leather fibers. Using sharp scissors, carefully trim only the longer, loose fibers that are visibly sticking up from the leather surface. Exercise caution during this step—only remove fibers that are clearly detached, as you don’t want to create additional damage. Shorter fibers that remain will not negatively impact the repair quality.
Step 3: Apply Leather Binder
Leather binder serves as a stabilizing foundation for deeper repairs. Apply a small amount of leather binder to a clean sponge and work it directly into the damaged area using gentle rubbing motions. The leather binder soaks deep into the leather fibers, restoring strength and flexibility. For optimal results, apply 8-10 thin coats, allowing adequate drying time between applications. This multi-coat approach ensures a strong, durable foundation for subsequent repair layers.
Step 4: Sand the Area Smooth
Once the leather binder has fully dried, lightly sand the damaged area using fine-grit sandpaper. This smooths out any remaining roughness and creates a level surface for the filler. Use gentle, even pressure and avoid aggressive sanding that could further damage the leather.
Step 5: Apply Heavy Filler
Heavy filler acts as the primary material for filling in gouges and deep scratches. Using a palette knife or spatula, spread a thin layer of heavy filler over the scratched areas, working in an upward motion to push the filler into the scratch in the opposite direction the claw traveled. This technique helps restore the leather’s natural contours. Allow 20-25 minutes for the first layer to dry, then assess whether additional layers are needed. The goal is to fill the damage so the surface is level with the surrounding leather. Apply multiple thin layers rather than one thick layer for best results.
Step 6: Sand and Clean
After the filler has dried completely, sand the area smooth and level with the surrounding leather using fine-grit sandpaper. Wipe away all dust and residue with a clean, damp cloth or use an alcohol cleaner to ensure the surface is completely clean before applying colorant.
Step 7: Apply Leather Colorant
Now it’s time to restore the color. Apply the first coat of leather colorant using a clean sponge, working the color into the repaired area with thin, even applications. Pour a small amount of colorant onto your sponge and apply a uniform coat. Sometimes after applying colorant, certain scratches become more visible. If this occurs, apply additional filler, sand, and reapply colorant as needed. Continue applying thin coats of colorant until you achieve complete color coverage that blends seamlessly with the surrounding leather.
Step 8: Apply Protective Finish
The final step involves applying a protective seal to lock in the color and create a durable finish. Begin by applying a glossy super seal in 3-4 thin layers, allowing each coat to dry completely before applying the next. The super seal creates a flexible and robust foundation. Follow this with 4-5 layers of leather finish product, again allowing proper drying time between coats. This multi-layer finishing approach ensures your repair is protected and will maintain its appearance over time.
Alternative Quick Fix Methods
Leather Glue Technique
For less severe scratches, some pet owners have had success using specialty leather glue as a filler. Products like Feebies leather glue are specifically designed to work with leather because they flex and bend with the material rather than cracking over time. Apply the glue using an upward motion into the scratch, then seal with a downward motion. Wipe away excess glue with a damp cloth before it dries. This method works best for shallow scratches rather than deep gouges.
Steam Method for Wrinkled Leather
If cat scratches have caused the leather to wrinkle or crease, a warm iron and damp cotton cloth can sometimes restore the original texture. Gently steam the affected area by placing a damp cloth over it and pressing with a warm iron set to a low temperature. This technique may require several applications to achieve desired results and works best for minor texture damage rather than actual gouges.
Assessing Your Specific Damage
The extent of repairs needed depends on the size and severity of the damage. Scratches smaller than a tennis ball can often be effectively treated with a Leather Repair Touch-Up Kit or Re-Coloring Balm. For larger areas exceeding a tennis ball in size, or for severe gouges where you can feel the damage with your fingers, a more comprehensive repair involving binders, fillers, and colorants is necessary.
Additionally, consider whether the material is genuine leather or synthetic (vinyl). Genuine leather responds well to these repair techniques, while vinyl or faux leather may require different approaches and products specifically designed for synthetic materials.
Prevention Tips for Future Damage
While these repair methods are effective, preventing future damage is always preferable. Consider providing your cat with designated scratching posts or pads made from materials they prefer to scratch. Regular nail trimming can also reduce the severity of accidental scratches on furniture. For particularly vulnerable leather pieces, protective furniture covers can shield them from damage while still allowing your cat access to their preferred resting spots.
Professional vs. DIY Repair Considerations
DIY leather repair offers significant cost savings compared to professional restoration services. Most supplies are affordable and accessible, and the process, while requiring patience and attention to detail, is manageable for homeowners. However, extremely severe damage, large areas affecting multiple furniture pieces, or antique leather furniture of significant value may warrant professional restoration to ensure optimal results.
Frequently Asked Questions
Q: How long does leather scratch repair typically take?
A: The timeline varies depending on damage severity. Simple surface scratches may take 2-3 hours, while deeper gouges requiring multiple layers of binder, filler, and colorant can take several days when accounting for drying time between applications. Most repairs require 8-24 hours of drying time between coats.
Q: Can I use regular paint or household products to repair leather?
A: No. Regular paint and household products don’t bond properly to leather and may crack or peel. Specialty leather products are formulated to flex and move with the leather, maintaining durability and appearance over time.
Q: Will repaired scratches be completely invisible?
A: For light surface scratches, repairs can be nearly invisible. For deeper gouges, while repairs significantly improve appearance and blend with surrounding leather, some visibility may remain depending on the original damage severity and lighting conditions.
Q: What should I do if my cat keeps scratching the same spot?
A: Redirect your cat’s scratching behavior by providing attractive alternatives like scratching posts near the furniture. Use deterrent sprays on the leather, increase play and exercise, and consider consulting with a veterinary behaviorist if scratching becomes obsessive.
Q: Can these methods work on all types of leather?
A: These methods work best on genuine leather. Synthetic materials, vinyl, and faux leather require different products and techniques. Always verify your furniture material before beginning repairs.
Q: How do I know which products to purchase?
A: Start by assessing your damage size and severity. Small scratches (tennis ball-sized or smaller) require only a re-coloring balm or touch-up kit. Larger areas need comprehensive kits with binder, filler, colorant, and finish products. Many manufacturers offer complete leather repair systems designed for specific damage types.
References
- How to Repair Cat Scratches on Leather — Furniture Clinic. 2019-05-23. https://www.furnitureclinic.com/e-learning/2019/05/23/how-to-repair-cat-scratches-on-leather/
- Leather Cat Scratch Repair Kit — Rub ‘n Restore. https://rubnrestore.com/leather-restoration-products/sandpaper-super-glue-leather-repair-kit/
- Leather Couch Restoration Part 2: Cat Scratch Hacks — YouTube. https://www.youtube.com/watch?v=JLsbotyYutU



