

How to Clean a Litter Box Properly
Keeping your cat’s litter box clean is essential for your pet’s health and your home’s hygiene. A well-maintained litter box encourages proper bathroom habits and prevents behavioral issues in cats. Whether you’re a new cat owner or looking to improve your cleaning routine, this comprehensive guide covers everything you need to know about maintaining a fresh and sanitary litter box environment.
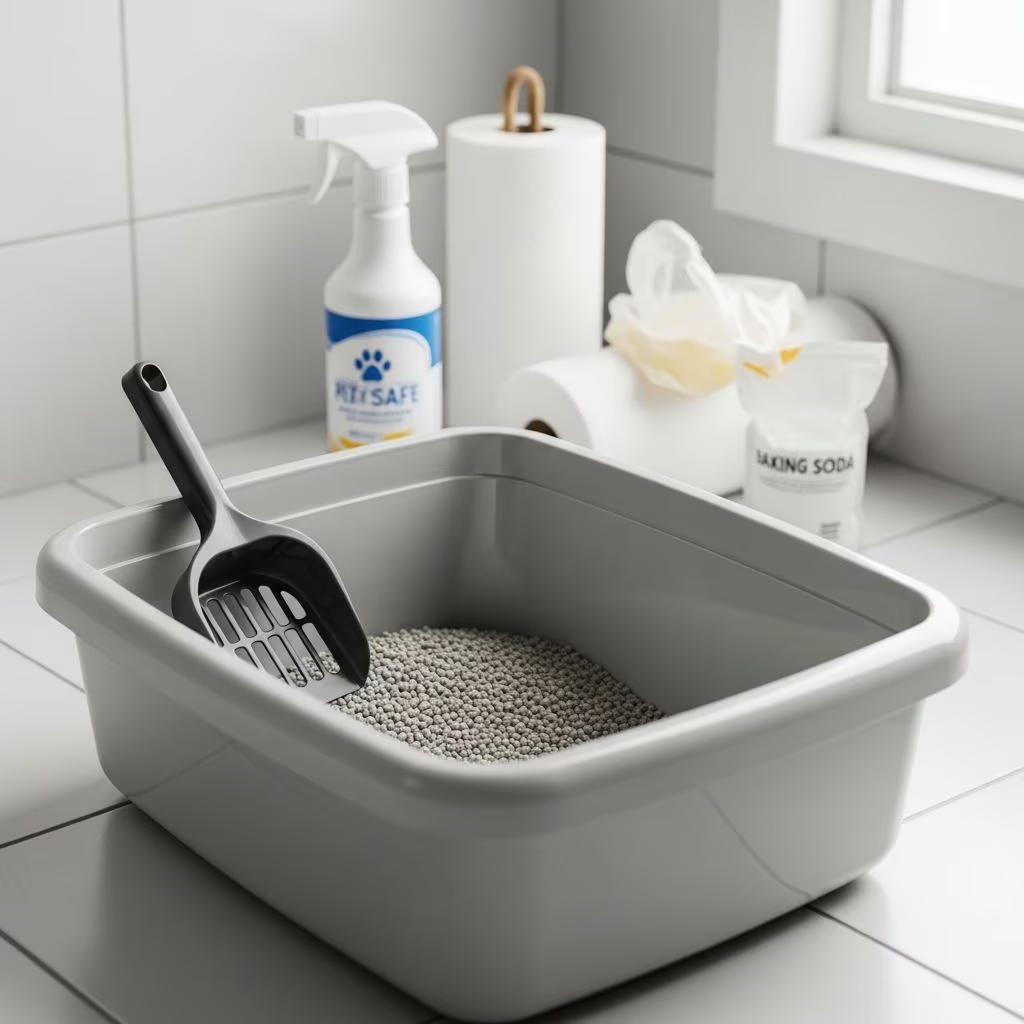
Supplies You’ll Need
Before you begin cleaning your cat’s litter box, gather the necessary supplies to make the job easier and more effective. Having everything on hand will streamline your cleaning process and ensure you’re using cat-safe materials.
- Litter scoop
- Garbage bags
- Trash can
- Paper towels
- Soft cleaning cloth
- Unscented detergent or mild soap
- Rubber gloves
- Hot water
- Baking soda (optional, for odor control)
Rubber gloves are particularly important if you want to protect your hands and maintain your manicure. Using unscented products is crucial since cats have sensitive noses and may be deterred from using their litter box if harsh chemical smells are present.
Daily Litter Box Cleaning
The foundation of litter box maintenance is a daily scooping routine. This regular habit keeps odors at bay and ensures your cat has a clean space for bathroom use.
Step 1: Scoop the Clumps
Using your litter scoop, work methodically through the litter box, moving from left to right toward the back. Carefully remove all clumped litter and deposit it into a garbage bag. Be thorough in removing waste, as missed clumps can lead to odor buildup and bacteria growth. After scooping out the clumps, tilt the litter box gently to access any waste stuck to the back corners and scrape those areas clean as well.
Step 2: Wipe the Litter Box Surface
After removing the clumps, wipe out any remaining litter dust with damp paper towels or a soft cloth. This step removes fine particles and dust that accumulate during regular use. Pay special attention to the corners and edges where dust tends to settle. This simple action maintains a cleaner overall environment and prevents excess dust from being tracked around your home.
Step 3: Add Fresh Litter
Once you’ve scooped and wiped the box, simply replace the litter you removed with fresh litter to maintain the appropriate depth. You can sprinkle a small amount of baking soda on top of the fresh litter to help neutralize odors naturally. This approach keeps your litter box fresh between deep cleaning sessions without requiring a complete litter change.
Weekly Deep Cleaning
In addition to daily scooping, your cat’s litter box needs a thorough deep clean at least once a week. This comprehensive cleaning removes bacteria, stubborn odors, and buildup that daily scooping alone cannot address.
Step 1: Empty the Entire Box
Begin your deep cleaning session by carefully pouring all the litter into a trash bag. If your litter box is particularly full or heavily soiled, you may need multiple bags. Handle this step carefully to avoid spreading litter dust throughout your space.
Step 2: Prepare the Cleaning Solution
Pour hot water into the empty litter box and add a few squirts of mild detergent or soap. Plain soapy water like dish soap is all you need and is easy on your cat’s nose. The warmth of the water helps loosen dirt and debris stuck to the interior surfaces. Avoid harsh-smelling cleaners like bleach or ammonia, as these can be toxic to cats and may deter them from using their box in the future.
Step 3: Scrub the Litter Box
Using a sponge or soft cloth, scrub the entire interior of the litter box, including the sides, bottom, and corners. Work methodically to ensure you cover every surface. If your litter box has removable walls or a detachable cover, wash these components separately using the same soapy water solution. For stubborn buildup, you can use a small scrubbing tool to help dislodge caked-on material.
Step 4: Rinse Thoroughly
After scrubbing, rinse the litter box thoroughly with clean water to remove all detergent residue. Any soap left behind can be irritating to your cat’s sensitive paws and nose. It may take several rounds of rinsing with lightly damp paper towels to ensure complete removal of soap and dirt. Continue rinsing until you no longer see any soap bubbles or discoloration in the water.
Step 5: Dry Completely
Once rinsing is complete, dry the litter box thoroughly using paper towels or a clean cloth. Moisture left in the box can promote bacterial growth and odor development. Ensure all interior surfaces are completely dry before refilling with fresh litter.
Step 6: Refill and Replace
Sprinkle a small amount of baking soda on the bottom of the dried litter box to help control odors. Then fill the box with your cat’s preferred litter to the appropriate depth. Replace the litter box in its designated location, and your cat is ready to use it again.
Special Considerations for Litter Box Materials
The material of your litter box affects how often you need to replace it and how effectively you can clean it. Plastic litter boxes are the most common and affordable option, but they have limitations. Plastic boxes don’t last forever, as they will slowly accumulate urine odors over time, despite one’s best cleaning efforts. This is because urine can penetrate the porous surface of plastic, making odors difficult to eliminate completely, even with regular cleaning.
Some cat owners prefer metal litter boxes for their durability and odor resistance. However, not all cats appreciate the noise a scooper makes when scraping against the bottom of a metal box. The sound can be startling and may discourage your cat from using the box. Consider your cat’s preferences and sensitivity to noise when selecting a litter box material.
If you notice persistent odors that don’t improve with regular cleaning, it may be time to replace your plastic litter box with a new one. This investment in a fresh box will significantly improve the hygiene of your home and your cat’s litter box experience.
Automatic Litter Boxes: Special Cleaning Requirements
If you use an automatic or self-cleaning litter box, maintenance is slightly different. While these boxes reduce the frequency of manual scooping, they still require regular cleaning and maintenance. This involves unplugging the unit, emptying all the litter, taking the unit apart, and wiping down each part thoroughly. Follow the manufacturer’s instructions for your specific model to ensure proper cleaning and functionality. Even though automatic boxes offer convenience by reducing daily scooping, understanding their cleaning requirements is essential for long-term performance.
How Often Should You Clean a Litter Box?
Establishing a consistent cleaning schedule keeps your cat’s environment fresh and healthy. The frequency depends on several factors, including the number of cats you have and the type of litter you use.
Daily Scooping
You should scoop your cat’s litter box at least once a day. If you have multiple cats sharing one box, you may need to scoop twice daily or more frequently. Daily scooping removes waste before it has time to develop odors and bacteria, keeping the box more inviting for your cat.
Weekly Deep Cleaning
In addition to daily scooping, wash the litter box completely at least once a week. If you have multiple cats or notice persistent odors, you may want to increase this to twice weekly.
Complete Litter Changes
If using clumpable litter, dump and scrub all boxes on average every four to six weeks. This timeline varies based on the number of cats and number of boxes in your home. A complete litter change ensures you’re starting fresh and prevents the buildup of urine-soaked litter particles that can cause persistent odor problems.
Tips for Maintaining a Fresh-Smelling Litter Box
- Use baking soda as a natural odor control method by sprinkling it in the bottom of the box before adding fresh litter
- Scoop immediately after noticing your cat has used the box to prevent odor development
- Ensure adequate ventilation in the room where the litter box is located
- Consider the type of litter you’re using, as some options control odors better than others
- Keep the litter box away from food and water bowls to prevent bacterial contamination
- Use mild, unscented cleaning products to avoid deterring your cat from the box
- Replace plastic litter boxes periodically as they accumulate odors over time
Frequently Asked Questions About Litter Box Cleaning
Q: Can I use bleach to clean my cat’s litter box?
A: No, you should avoid bleach and ammonia-based cleaners. These harsh chemicals can be toxic to cats and may deter them from using their litter box. Stick to mild dish soap and hot water for safe, effective cleaning.
Q: How can I reduce litter box odors between deep cleanings?
A: Sprinkle baking soda on top of the fresh litter after daily scooping. Baking soda is a natural odor neutralizer that’s safe for cats and doesn’t require rinsing. Daily scooping is also crucial for preventing odor buildup.
Q: Why does my cat avoid the litter box even though I clean it regularly?
A: Cats may avoid a litter box due to strong chemical smells from harsh cleaners, underlying health issues, or simply preferring a different location or litter type. Try using only mild, unscented soaps and consult your veterinarian if the behavior persists.
Q: Should I replace my litter box if it still smells after deep cleaning?
A: If your plastic litter box retains odors despite thorough cleaning, it may be time to replace it. Plastic can absorb urine permanently over time. Consider switching to a new box or trying a metal alternative for better odor control.
Q: How many litter boxes should I have for multiple cats?
A: The general rule is one litter box per cat, plus one additional box. For example, if you have two cats, you should have three boxes. This provides each cat with options and reduces competition.
Q: Is it necessary to use detergent when cleaning the litter box?
A: While hot water alone can clean a litter box, adding a small amount of mild dish soap helps loosen dirt and debris more effectively. It also helps eliminate bacteria without leaving toxic residue that could harm your cat.
References
- How To Clean a Litter Box Step by Step — PetMD. 2024. https://www.petmd.com/cat/general-health/how-to-clean-litter-box
- How to Clean a Litter Box — Kinship. 2024. https://www.kinship.com/cat-lifestyle/how-to-clean-a-litter-box
- Litter Boxes: Get the Scoop Part 2! What Should It Be Filled With and How to Clean and Maintain Them — Fundamentally Feline. https://www.fundamentallyfeline.com/litter-boxes-get-scoop-part-2-filler-cleaning-maintenance/



