

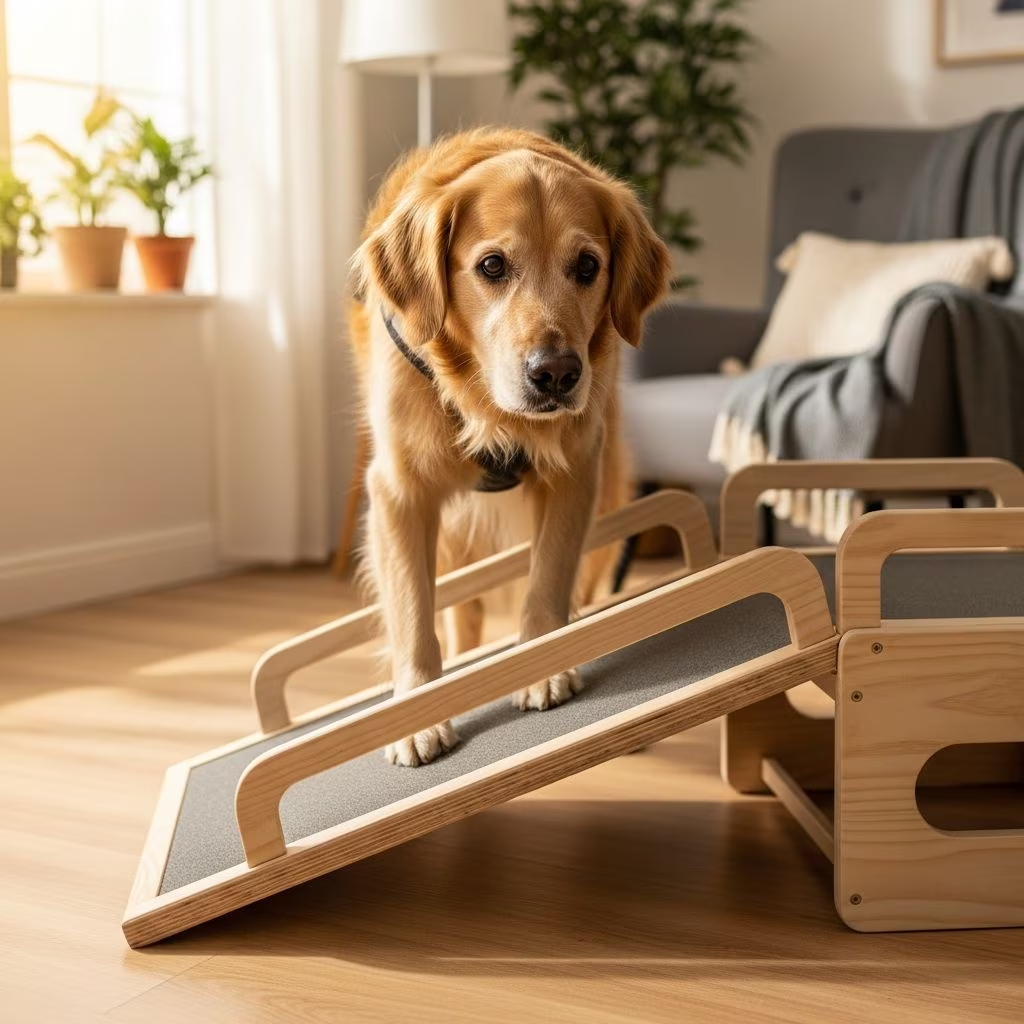
As dogs age or recover from injuries, simple tasks like climbing stairs or jumping onto furniture become increasingly challenging. A well-constructed dog ramp provides a practical solution that allows your pet to maintain independence while reducing strain on joints and muscles. Building your own ramp is an affordable DIY project that requires minimal carpentry experience and basic tools.
Understanding Why Your Dog Needs a Ramp
Dogs with osteoarthritis, hip dysplasia, or other joint conditions benefit significantly from ramps that reduce impact on their skeletal system. Senior dogs often experience decreased muscle mass and flexibility, making traditional stairs painful or impossible to navigate. Even younger dogs recovering from surgery appreciate the gentler incline that a ramp provides compared to vertical climbing.
Beyond health considerations, ramps serve practical purposes in multi-level homes where dogs need access to beds, vehicles, or raised decks. A ramp enables your pet to reach favorite sleeping spots without requiring you to lift them, which can be problematic for larger breeds or for owners with their own physical limitations.
Essential Materials for Ramp Construction
Building a basic dog ramp requires readily available lumber and hardware that can be found at any home improvement store. Understanding the specific dimensions and grades of material ensures your finished ramp will be durable and safe for your dog’s weight and size.
Wood Components
The primary structural elements consist of framing lumber and plywood. Standard 2×4 lumber serves as the main supports and frame, providing strength without excessive weight. For a typical dog ramp approximately 45 inches long, you’ll need multiple 2×4 pieces cut to various lengths. The actual walking surface should be constructed from 1/2-inch plywood, which offers adequate thickness to support dogs without excessive flex or sagging.
Secondary framing uses 1×1 lumber or 1×5 lumber depending on your design preference. These pieces form the side rails and provide structural integrity to the ramp. Quality matters significantly here—avoid warped or split lumber, as defects can compromise the ramp’s structural integrity and create safety hazards for your dog.
Hardware and Fasteners
Galvanized or stainless steel screws resist rust and corrosion, essential for outdoor or damp environments. Use 2½-inch screws for attaching main structural elements and 1⅝-inch screws for securing plywood and trim pieces. Washers and bolts become necessary if you’re constructing a collapsible design with hinged legs.
Waterproof wood glue enhances joint strength and helps prevent moisture infiltration into wood seams. This is particularly important for ramps exposed to outdoor conditions where water damage can accelerate wood deterioration.
Surface and Safety Materials
The ramp walking surface requires traction to prevent slipping. Commercial carpet remnants, rubber mats, or specialized non-slip tape all provide adequate grip. Carpet offers cushioning that reduces joint impact, while rubber mats provide superior durability and easier cleaning. Cut material to size and secure with staples, nails, or construction adhesive appropriate for your chosen surface material.
Tools Required for the Project
Most dog ramp projects can be completed with common household tools, though specialized equipment produces more professional results.
Cutting Tools
A miter saw enables accurate angled cuts necessary for the ramp’s inclined design and support structure. Circular saws work for straight cuts if a miter saw isn’t available. A jigsaw allows detailed cuts, particularly useful for rounded corner edges that prevent tripping hazards.
Fastening and Assembly Tools
A drill or combination drill/driver is essential for creating pilot holes and driving screws efficiently. A hammer works for nail-based designs, though screws generally provide superior holding power. An impact driver simplifies driving larger fasteners into hardwood.
Finishing and Measurement Tools
A tape measure ensures accurate component sizing, while a framing square verifies right angles during assembly. A level confirms proper slope—most dog ramps should incline at approximately 20 to 30 degrees from horizontal. A power sander smooths rough edges and prepares surfaces for finishing touches. A staple gun or nail gun securely attaches carpet or rubber matting to the plywood surface.
Step-by-Step Construction Process
Foundation and Frame Assembly
Begin by cutting all wood components to specification according to your chosen design dimensions. Lay the two primary 2×4 supports parallel to each other, spaced appropriately for your dog’s width. These runners form the left and right edges of the ramp structure. Connect them with perpendicular 2×4 or 1×4 crosspieces that span between the runners at intervals along the length.
Before final assembly, dry-fit all components to verify proper alignment and square angles. Make any necessary adjustments before permanently fastening. Apply waterproof glue to all joints, then secure with screws. Drill pilot holes slightly smaller than your screw diameter to prevent wood splitting—this step is especially important in hardwoods.
Attaching the Plywood Surface
Once the frame is square and rigid, attach the plywood ramp surface. Position the plywood sheet across the frame and secure with 1⅝-inch screws spaced every 6 to 8 inches along all edges and intermediate supports. Pre-drill holes to prevent surface splitting. Ensure no gaps exist between the plywood and frame components, as gaps can catch dog legs or create tripping hazards.
Installing Support Legs
For ramps that rest on the ground, additional angled support legs provide structural reinforcement. Cut 2×4 pieces with one end at approximately 20 degrees to match the ramp’s slope. Attach these legs to the underside of the ramp using pocket holes and 2½-inch screws. Space legs to provide support at points where concentrated loads occur, typically near the top and middle sections.
Adding Traction Surfaces
Cover the plywood surface with your chosen traction material. If using carpet, cut pieces to fit and secure with staples along all edges, placing staples approximately every 4 inches. Butt seams tightly to prevent tripping hazards. For rubber mats or specialized non-slip tape, follow manufacturer instructions for adhesive application and allow proper curing time before exposing the ramp to your dog’s weight.
Design Considerations for Different Situations
Foldable Ramp Design
Many owners prefer ramps that collapse for compact storage when not in use. This design incorporates hinged legs that fold underneath the main ramp body. Drill holes for bolts at strategic points on both the ramp and leg pieces, using washers and locking nuts to create pivot joints. The legs should move smoothly with some resistance but not be difficult to operate manually. A crossbrace beneath the ramp stabilizes the legs when extended and must be correctly sized to match the span between extended legs.
Vehicle and Furniture Access
Ramps for vehicle tailgates or bed access require careful height matching. Measure the vertical distance from ground to the target surface and ensure your ramp rises at an appropriate angle. Steeper angles present challenges for older dogs, while shallow angles require excessive length. A slope between 20 and 30 degrees provides optimal balance between length and steepness for most dogs.
Outdoor Ramp Considerations
Ramps exposed to weather require enhanced protection. Apply exterior-grade sealant or paint to all exposed wood surfaces to prevent moisture damage and rot. Ensure adequate drainage beneath the ramp to prevent water pooling. Choose traction materials that resist mold and mildew growth in damp environments.
Finishing Touches and Safety Features
Professional-appearing ramps require attention to detail during final assembly stages. Fill all screw holes and surface imperfections with exterior wood putty, then sand smooth with 120-grit sandpaper. Paint or stain the ramp to match your home’s aesthetic while protecting the wood from UV damage and moisture.
Add safety features that extend ramp longevity and protect your dog. Rounded corners and smooth edges prevent splinters and reduce tripping hazards. Install side rails or raised edges on wider ramps to prevent dogs from stepping off the sides. Consider adding grip strips to the traction surface if your chosen material becomes slippery when wet.
Selecting the Right Design for Your Dog
The ideal ramp design depends on your dog’s size, weight, mobility limitations, and your home’s layout. Small dogs often need less steep slopes and shorter ramps, while large breeds require reinforced construction capable of supporting greater weight. Dogs with severe mobility issues benefit from gentler slopes even if this increases the ramp’s length.
Consider whether your ramp needs permanent installation or portability. Fixed ramps eliminate stability concerns but sacrifice flexibility. Portable designs allow repositioning but require secure placement each use. Some owners maintain multiple ramps in different locations for maximum accessibility throughout their home.
Maintenance and Long-term Care
Regular inspection prevents failures that could injure your dog. Check fasteners quarterly and tighten any that have loosened due to vibration or wood movement. Inspect the traction surface for wear patterns, tears, or loose sections that could cause slipping. Replace worn carpet or mats to maintain adequate grip.
Wood ramps exposed to weather require periodic sealing and repainting every 2 to 3 years depending on climate conditions. Monitor for signs of rot, particularly in shaded or constantly damp areas. Replace any damaged components promptly to maintain structural integrity and safety.
Frequently Asked Questions
What angle is best for a dog ramp?
Most veterinarians and ramp designers recommend a slope between 20 and 30 degrees from horizontal. This angle allows dogs to climb without excessive strain while maintaining traction. Steeper angles become difficult for senior or mobility-challenged dogs, while shallower angles require impractically long ramps.
How much weight can a homemade dog ramp support?
A properly constructed ramp using standard 2×4 framing and ½-inch plywood safely supports dogs weighing up to 100 pounds. Larger breeds or dogs exceeding this weight require reinforced construction with additional support beams or upgraded materials like thicker plywood and stronger fasteners.
Can I build a ramp for an apartment or rental?
Yes, portable ramp designs with removable legs work well for rental situations. These ramps don’t require permanent installation and can be stored when not needed. Ensure your design doesn’t damage flooring or walls, and consult your lease regarding pet modifications.
What’s the most affordable ramp building option?
Basic ramps constructed from standard lumber and carpet remnants cost under $100 in materials. Shopping sales, using reclaimed wood when suitable, and choosing budget-friendly traction materials reduces costs further. Instructables and DIY communities often share economical designs tested by other dog owners.
References
- Dog Ramp Plans — MyOutdoorPlans. Accessed 2026. https://myoutdoorplans.com/animals/dog-ramp-plans/
- How to Build a Dog Ramp — This Old House. Accessed 2026. https://www.thisoldhouse.com/pets/how-to-build-a-dog-ramp
- Build an Easy Dog Ramp — Vicki Liston. Accessed 2026. https://www.vickiliston.com/post/build-an-easy-dog-ramp
- Inexpensive Doggie Ramp — Instructables. Accessed 2026. https://www.instructables.com/Inexpensive-Doggie-Ramp/
- 6 Things You Need to Consider Before Building a Dog Ramp — Doggo Ramps. Accessed 2026. https://doggoramps.com/blogs/dogs/before-building-a-dog-ramp



