

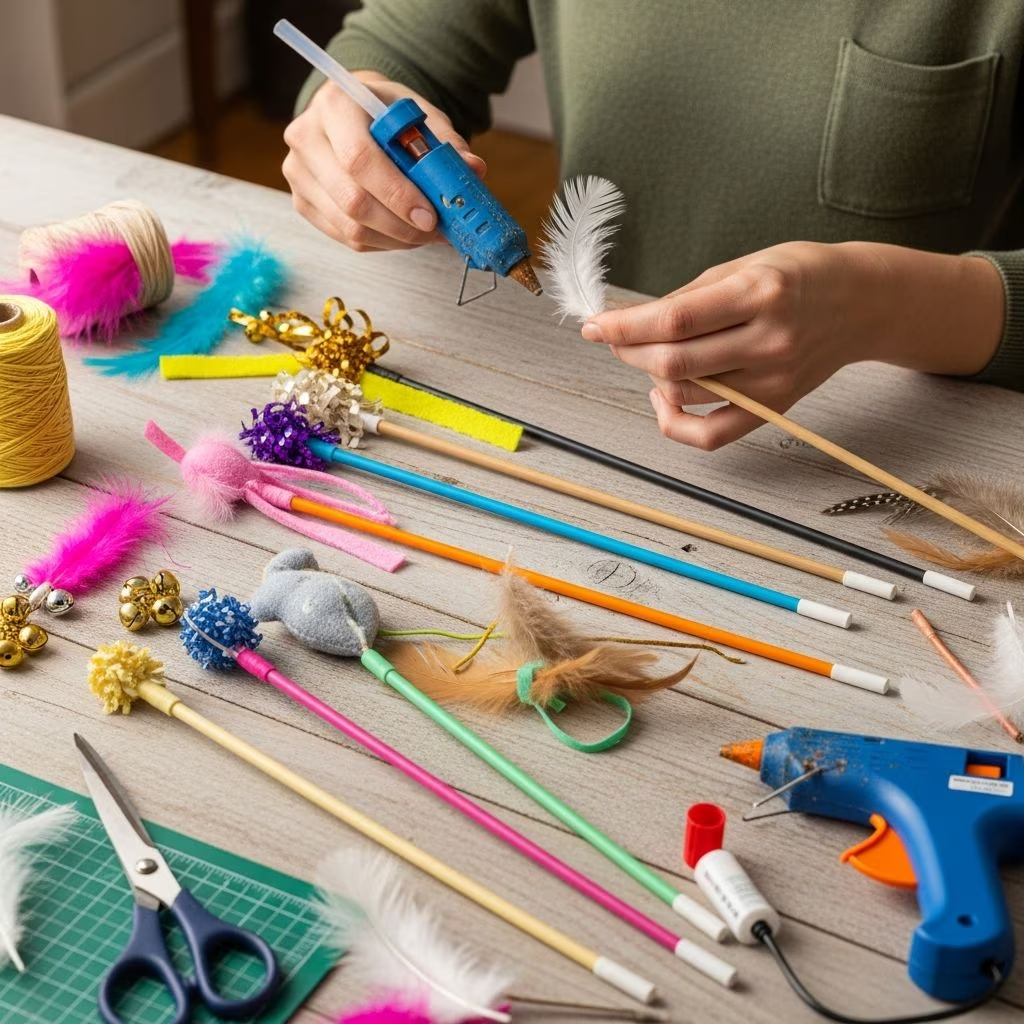
Cat wand toys represent one of the most effective ways to engage your feline companion in active play while strengthening your bond together. These interactive toys mimic the natural hunting behaviors that cats crave, providing mental stimulation and physical exercise. Unlike passive toys that sit around the house, wand toys offer dynamic entertainment that responds to your cat’s movements and instincts. The best part? You can create professional-quality wand toys at home using affordable materials and basic crafting skills.
Understanding the Essential Components of Cat Wand Toys
Before diving into construction, it’s important to understand what makes an effective cat wand toy. Every wand toy consists of three fundamental parts: the handle or wand structure, the connecting mechanism, and the interactive attachment that captures your cat’s attention.
The handle serves as the control point where you hold and maneuver the toy. Wooden dowels typically work best because they’re lightweight, durable, and easy to customize. A standard dowel measuring 12 to 24 inches provides adequate length for comfortable control without creating excessive weight that causes fatigue during play sessions.
The connecting mechanism attaches the interactive elements to the wand. This can include fishing line, string, specialized knit rope, or lightweight cordage. The connection point is critical because it determines how the toy moves and responds to your cat’s pouncing attempts. A well-designed connection allows the toy to move fluidly and unpredictably, enhancing the hunting simulation.
The interactive attachment is what actually captures your cat’s attention. These can range from feathers and fabric pieces to handmade creatures and crinkly materials. The attachment must be lightweight enough to move realistically but sturdy enough to withstand the vigorous play that cats unleash.
Gathering Materials for Your DIY Project
Creating cat wand toys requires minimal investment because most materials are inexpensive and readily available. Here’s what you’ll need depending on which toy designs you choose to make:
- Wooden dowels – Available at craft stores, ranging from 1/4 inch to 1/2 inch in diameter
- Fishing line or string – Provides flexible connection points that allow realistic movement
- Carabiners or key rings – Small hardware items that serve as attachment points and quick-release mechanisms
- Feathers – Craft feathers or natural feathers that mimic birds and small prey
- Fabric scraps – Fleece, felt, or cotton material for creating body shapes
- Catnip – Dried catnip herb that increases toy appeal and encourages engagement
- Bells and jingle bells – Small metal bells that produce engaging sounds during play
- Pompoms – Fuzzy ball elements that create interesting textures
- Suede laces – Thin strips that create dangling elements resembling prey tails
- Thread and needle – For stitching fabric components together
- Scissors and cutting tools – Sharp implements for precise material cutting
- Hot glue gun – For quickly securing components without waiting for traditional glue to dry
The Basic Wand Structure: Building Your Foundation
Creating the wand handle itself is straightforward and requires just a few minutes. Start by selecting your wooden dowel and determining the appropriate length. Most comfortable wand toys measure between 12 and 24 inches, depending on your hand size and the play space where you’ll use it.
If your dowel exceeds your desired length, carefully trim it using a saw or heavy scissors. Smooth any rough edges with sandpaper to prevent splinters that could harm both you and your cat during handling.
Next, prepare one end of the dowel for attaching the string or fishing line. Many crafters create a small groove by drilling a tiny hole near the tip, or simply tie string directly around the end. Apply a small amount of hot glue or wood glue around the knot to reinforce it and prevent slipping during enthusiastic play sessions.
For improved grip and aesthetic appeal, wrap the handle section with ribbon or decorative tape. This step serves both functional and visual purposes—the wrapped texture provides better grip control, while the colorful wrapping makes the toy more visually interesting for you during play.
Creating Feather Attachments: The Classic Design
Feather-based attachments represent the most traditional and effective cat wand toy design. Feathers naturally appeal to cats because they simulate bird prey and move in ways that trigger hunting instincts.
To create a feather attachment, gather 10 to 15 feathers of varying colors and sizes. Holding them in a bundle, use hot glue to bond the quills together at the base. This creates a unified bunch that moves as a single unit during play.
Thread your fishing line or string through the center of the feather bundle, working from the tip downward. This approach creates a more realistic movement pattern compared to attaching the line to the outside of the feathers. Secure the fishing line with a knot at the quill end, then trim any excess line.
If desired, thread the fishing line through a small jingle bell positioned above the feathers. Wrap the line twice around the bell’s eyelet to keep it positioned directly on top. The bell’s gentle jingling adds an auditory component that many cats find irresistible and helps them track the toy during rapid movement.
Constructing Fabric-Based Creatures: Fish, Mice, and Spiders
Fabric toys offer greater durability than feathers alone and can be designed to resemble specific prey animals. Creating these creatures requires basic sewing skills but produces toys that withstand vigorous play for extended periods.
The Fish Design
Begin by cutting a 2.5-inch wide fleece strip. Fold this strip in half lengthwise and sew along the long edge, creating a tube. Leave both ends open for now.
Stuff the fish lightly with polyester fiber fill and a small pinch of catnip. Use a pencil eraser or chopstick to push stuffing into the fish’s head region. Tie your fishing line or knit string approximately 40 to 45 inches down from the wand’s end, creating a knot that will anchor inside the fish’s mouth.
Insert the knotted end into the fish’s mouth opening and pin it in place. Sew across the mouth opening with multiple backstitches to create a strong, durable seam. Your fish toy is now complete and ready for action.
The Mouse Design
Cut a felt or fleece rectangle and fold it in half over your fishing line, positioning the knot within the fold at the top. Pin the folded edges, then sew them together using a half-inch seam allowance. Carefully trim the seam allowance to prevent bulk, then turn the mouse inside out through the back opening.
Gently push out the corners to shape the ears. Lightly stuff the mouse body and add catnip. Position the fishing line so it emerges from the top corner by the ears, and allow the line to continue out the back opening as the tail.
Pinch the back seams together, moving them in opposite directions to create a rounded body shape. Pin the back opening closed, then stitch it shut while keeping the tail centered along the back seam. Tie a knot at your desired tail length and trim excess string.
The Spider Design
Create spider bodies by stringing pompoms and suede lace strands onto fishing line. Begin with a knot at one end of the fishing line to create a stop point. Alternate threading through pompoms and short suede laces (knotted in the center) to create the spider’s body segments and legs.
Once your spider reaches desired length, tie a final knot near the head area to keep all components secure. Attach the fishing line to your wand using the same method as the other fabric creatures.
Advanced Connection Methods for Durability
The connection between your wand and interactive attachment significantly impacts toy longevity. Professional-grade connections use multiple attachment methods to distribute stress and prevent failures during aggressive play.
The barrel swivel system offers exceptional durability. Tie one barrel swivel (with clip attachment) to your fishing line approximately 6 to 12 inches from the wand tip. This spacing keeps metal hardware away from your cat’s claws and mouth. Attach a second barrel swivel to your fabric toy’s back or head, then clip the two together. This design allows for quick attachment and removal, making toy rotation and maintenance simple.
For permanent connections, double-threaded stitching provides exceptional strength. Use a needle with doubled thread to stitch directly through attachment points multiple times, creating reinforced seams that distribute impact forces. Backstitch over the connection area at least twice to ensure structural integrity.
Safety Considerations for Your Cat’s Wellbeing
Creating safe toys requires attention to several critical details. Always supervise play sessions with homemade wand toys, especially during your cat’s first interactions with new designs. Monitor the toy for loose threads, weakening seams, or damaged components that could pose choking hazards.
Trim all loose threads immediately after construction and after each play session. Inspect connection points regularly, and reinforce any areas showing wear. If your cat manages to ingest fishing line or other string materials, contact your veterinarian immediately, as these items can cause serious internal injuries.
Store wand toys in a secure location away from unsupervised access. Cats can be remarkably persistent in accessing interesting toys, and unattended play with string-based toys presents real risks. Create a designated toy storage area that remains accessible only during supervised play time.
Customization Options for Your Cat’s Preferences
Different cats exhibit different prey preferences, and customizing your wand toys increases engagement levels. Some cats become excited by feathered designs that simulate bird prey, while others prefer fabric toys that resemble small mammals.
Experiment with various materials to determine your cat’s preferences. If your cat shows particular interest in certain colors or textures, incorporate those elements into future toy designs. Rotating through different toy variations prevents habituation and maintains novelty.
Consider your cat’s age and play style when customizing designs. Younger, more athletic cats appreciate rapid-moving, lightweight attachments that challenge their reflexes. Senior cats may prefer heavier, slower-moving toys that are easier to catch and don’t require extreme jumping.
Storage and Maintenance Tips
Proper storage extends your wand toys’ lifespan and keeps them safe between play sessions. Store toys in a dry location away from direct sunlight, which can fade colors and degrade materials over time. A closed drawer, container, or hanging organizer works well.
Inspect toys monthly for damage, wear, or deterioration. Reinforce loose stitches before they become major tears. Replace catnip if the herb has lost its potency—cats typically respond to fresh catnip more enthusiastically than dried, depleted versions.
Wash fabric toys occasionally using hand washing methods with gentle soap and cool water. Allow them to dry completely before returning to play rotation. This maintenance keeps toys fresh and hygienic while extending their usable lifespan.
Frequently Asked Questions
How long does it take to create a cat wand toy?
Basic wand toys typically require 15 to 30 minutes from material preparation through completion. More elaborate fabric creatures with detailed stitching may require 45 minutes to an hour, depending on your sewing experience.
What’s the best material for the wand handle?
Wooden dowels represent the ideal choice because they’re lightweight, affordable, and provide excellent grip. Dowels are widely available at craft stores in various diameters and lengths.
Can I use regular string instead of fishing line?
Yes, regular string or thin rope works well for wand toys. Fishing line offers advantages in invisibility during play, but string-based connections are equally effective and often easier to work with.
How often should I replace cat wand toys?
Well-constructed toys can last for months or years with proper maintenance. Replace toys when seams become damaged, connections loosen, or catnip loses potency. Rotate toys regularly to maintain your cat’s interest.
Is catnip necessary for all wand toys?
While catnip significantly increases appeal for most cats, it’s not essential. Some cats show little interest in catnip, and the movement and hunting simulation aspect of wand toys provides sufficient appeal. Experiment to see if your cat responds to catnip.
How can I prevent my cat from destroying the toy?
Use double-stitched seams and quality materials to increase durability. Supervise play sessions and immediately repair damage. Rotate toys to prevent excessive wear on individual designs, and store toys securely when not in use.
References
- How to Make Cat Wand Toys — We All Sew. 2024. https://weallsew.com/how-to-make-cat-wand-toys/
- How to Make DIY Cat Wand Toy — Purina. 2024. https://www.purina.com/articles/cat/behavior/play/how-to-make-a-diy-wand-cat-toy
- DIY Cat Wand — Whiskers in Names. 2024. https://www.whiskersinames.com/diy-cat-wand
- How to Make a Cat Wand Toy: A Step-by-Step Guide — UAH Pet. 2024. https://www.uahpet.com/blogs/post/how-to-make-a-cat-wand-toy-a-step-by-step-guide
- DIY Cat Toys That Are Cheap and Easy to Make — Cat Mum Journal. 2024. https://www.catmumjournal.co.uk/post/diy-cat-toys-that-are-cheap-and-easy-to-make
- How to Make a Homemade Cat Wand Toy — YouTube. 2024. https://www.youtube.com/watch?v=Nc3YsVGzA1c



