

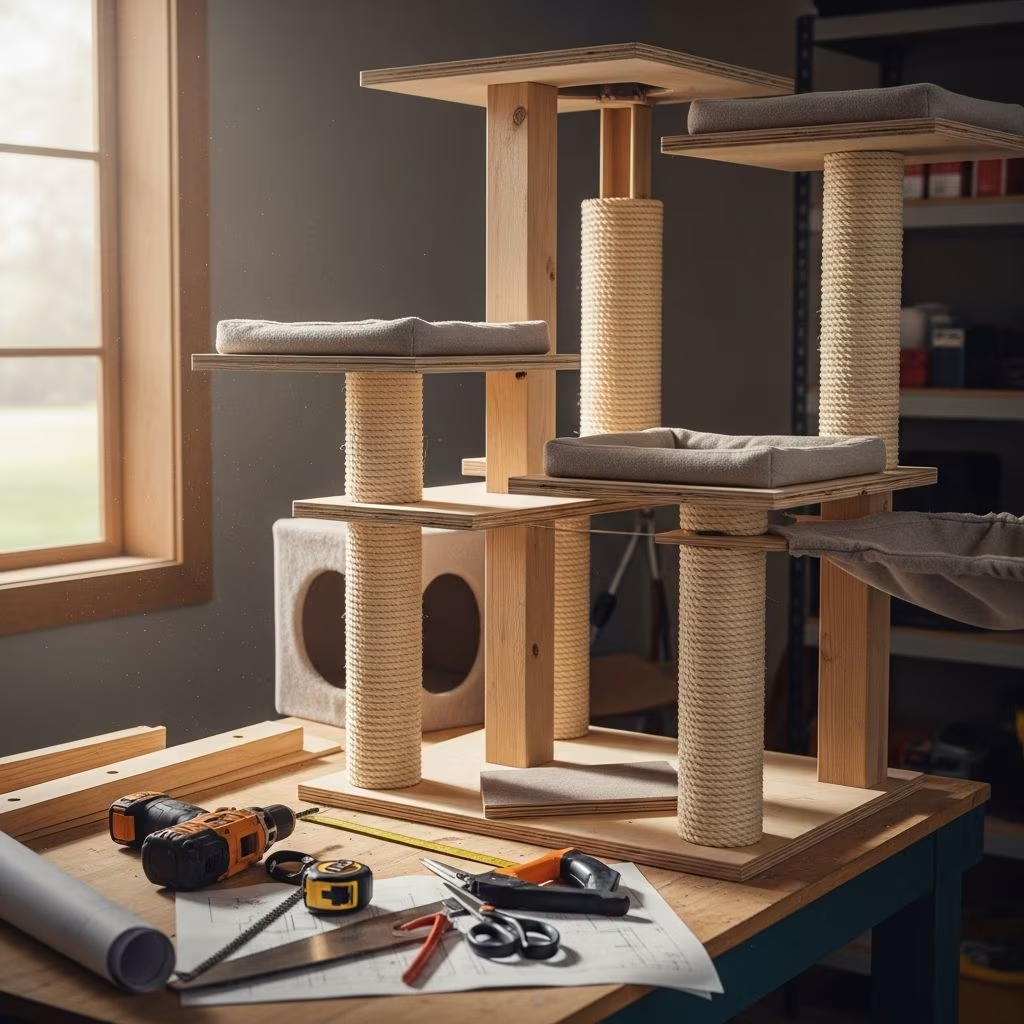
Creating a dedicated vertical space for your feline companions doesn’t require expensive commercial products. With basic carpentry skills, readily available materials, and a few hours of work, you can construct a personalized climbing structure that your cats will enjoy for years. This guide walks you through the process of building various cat tree designs, from simple installations to elaborate multi-level structures.
Why Build Your Own Cat Tree
Commercial cat trees often come with limitations: they may not fit your space perfectly, lack the aesthetic appeal you want, or cost far more than homemade alternatives. Building your own allows complete customization in size, style, and features. You control the materials used, ensuring they’re safe for your pets. Additionally, the cost savings can be substantial—many DIY designs use materials available at hardware stores or recycled from household items.
A well-designed cat tree provides essential physical and mental enrichment. Cats naturally seek elevated perches for security and observation. Vertical spaces help distribute climbing activity throughout your home, reducing wear on furniture and redirecting scratching behavior to appropriate surfaces. Multi-level designs accommodate multiple cats, reducing territorial conflicts.
Essential Tools and Materials Overview
Basic Tool Requirements
Most DIY cat tree projects require a limited toolkit:
- Measuring tape for accurate dimensions
- Hand saw or power saw for cutting wood
- Drill with various bits for creating holes and pilot points
- Screwdriver (manual or power) for fastening
- Staple gun for securing carpet and rope
- Sandpaper for smoothing rough edges
- Spirit level to ensure vertical alignment
- Box cutter for trimming carpet and materials
Common Material Choices
Different materials serve different purposes in cat tree construction:
| Material | Purpose | Benefits | Considerations |
|---|---|---|---|
| Plywood | Structural base and platforms | Strong, affordable, easy to cut | Requires sealing to prevent splinters |
| Sisal Rope | Scratching surfaces and pole wrapping | Natural, durable, cats prefer it | Requires regular replacement |
| Carpet or Carpet Tiles | Platform covering and support wrapping | Soft, provides grip, noise reduction | Accumulates hair, requires cleaning |
| PVC Pipe | Lightweight frame components | Easy to resize, numerous bracket options | Less stable than wood for large structures |
| Wood Posts or Branches | Natural vertical climbing elements | Aesthetically appealing, authentic feel | Requires securement system |
Foundational Design Principles
Creating a Stable Base
The foundation determines structural integrity and safety. A sturdy base should be substantially larger than the vertical components to prevent tipping. Standard recommendations suggest a minimum 24-inch square base, though larger dimensions provide better stability. Double plywood layers glued together create additional weight and strength. The base must support the combined weight of the tree structure, scratching materials, and multiple cats simultaneously.
Vertical Support Systems
Vertical supports form the spine of your structure. These can be solid wood posts, PVC pipes, or natural branches. The choice depends on your design aesthetic and available space. For floor-to-ceiling installations, ensure posts span from base to ceiling with minimal gaps. Secure points at both floor and ceiling prevent swaying and wobbling during active use.
Safety Considerations
Before finalizing any design, consider these safety factors:
- All exposed fasteners must be covered or recessed to prevent injury
- Platform edges should have lip or border to prevent jumping miscalculations
- Materials must be non-toxic and safe if chewed or ingested
- Carpet and rope should be firmly secured to prevent unraveling
- Weight distribution should prevent shifting when cats play actively
- Electrical cords must be kept away from scratching areas
Beginner-Friendly Designs
Simple Wall-Mounted Shelf System
The most straightforward approach uses existing wall studs and basic shelving hardware. Install shelves staggered at varying heights, alternating placement from one side to the other as they ascend. This zigzag pattern encourages climbing and engagement. Shelves measuring 18 to 24 inches work well for most cats. Always ensure brackets can support your cat’s full weight plus the shelf weight, and secure fasteners directly into wall studs for maximum stability.
Minimalist Post Construction
A single vertical post with basic attachments provides essential scratching and climbing without consuming significant floor space. This design requires minimal tools and materials: a floor-to-ceiling tension rod or wooden post, carpet wrapping, sisal rope, and a small platform or shelf near the top. Installation takes just a few hours and suits apartments or small rooms. Despite its simplicity, cats find these structures engaging and appropriate for scratching behavior.
Intermediate Projects
Multi-Platform Climbing Structure
Intermediate builders can create more elaborate designs incorporating multiple platforms at different heights and angles. This involves cutting plywood into various sized platforms, wrapping them with carpet for grip and comfort, and arranging them on vertical supports in an asymmetrical pattern. The staggered arrangement creates natural pathways and encourages exploration.
Integrated Rope and Scratching Surfaces
Beyond simple carpet covering, you can incorporate multiple scratching options. Wrapping sisal rope tightly around vertical supports creates traditional scratching posts. Combining rope-wrapped sections with carpet-covered platforms provides texture variety, appealing to different scratching preferences. Some cats prefer rough rope while others favor soft carpet—offering both increases engagement.
Advanced Construction Techniques
Natural Tree Integration
For those seeking authentic aesthetics, incorporating actual branches or small trees creates striking visual elements. Real wood branches secured with brackets to vertical supports provide varied diameters and surfaces for climbing. This approach requires careful branch selection for safety and durability. Branches must be well-secured and regularly inspected for splinters or decay.
Large Multi-Cat Installations
Complex designs accommodate multiple cats simultaneously with distinct territories and escape routes. These structures function as cat mansions, incorporating tunnels, enclosed cubbies, open perches, and varied climbing paths. Material requirements expand significantly, necessitating careful planning to ensure structural stability and adequate floor space. Such projects challenge experienced DIYers but deliver impressive results that become focal points in home design.
Step-by-Step Construction Process
Phase One: Planning and Material Preparation
Begin by measuring your available space, noting ceiling height and width constraints. Determine where you want the structure positioned and identify weight-bearing areas. Create a simple sketch showing platform placement, heights, and support locations. Collect all materials and tools before starting work. Sand any rough wood edges and cut materials to specified dimensions. Prepare carpet pieces by cutting them slightly larger than intended to allow for wrapping and securing.
Phase Two: Base Construction
Cut and assemble your base using the dimensions determined during planning. For additional strength, glue two plywood sheets together. Once the glue dries, sand all edges smooth. Install mounting hardware that will connect to vertical supports. Cut carpet to size, notching corners for clean folding, then staple it firmly to the base, ensuring no staples protrude where cats might catch themselves.
Phase Three: Vertical Support Installation
Position vertical posts or poles on the assembled base, securing them with appropriate fasteners. If using ceiling attachment, measure precisely to ensure vertical alignment using a spirit level. For non-permanent installations, use tension rods that expand between floor and ceiling without drilling. Wrap vertical supports with carpet before attaching horizontal platforms, or do so afterward—whichever suits your design approach.
Phase Four: Platform Attachment and Finishing
Attach horizontal platforms at predetermined heights using wood screws, glue, or brackets depending on your design. Ensure each platform is level and secure before adding weight. Cover exposed fasteners and platform edges with carpet or trim pieces. Apply sisal rope to designated scratching areas, spacing loops tightly and securing with staples driven through rope into wood.
Special Design Considerations
Space-Saving Solutions
For homes with limited floor space, vertical designs that maximize height without consuming much ground area work well. Tall, narrow designs or wall-mounted shelves systems preserve living space while providing enrichment. Some creative designs combine furniture functionality with cat features—shelving units can hold decorative items while incorporating cat platforms at different levels.
Aesthetic Integration
Modern homes benefit from designs matching existing décor. Natural wood finishes integrate seamlessly with contemporary design. Carpet color selection can complement your interior palette. Incorporating real branches creates biophilic design elements that enhance visual appeal while satisfying cat instincts. Many DIY builders find that attractive cat trees receive positive comment from visitors while encouraging cats to use designated structures rather than furniture.
Maintenance and Longevity
Regular Inspection Protocols
Monthly inspections identify developing problems before they create safety issues. Check all fasteners for looseness and tighten as needed. Inspect rope and carpet for excessive wear, fraying, or unraveling. Look for signs of wood damage, mold, or pest infestation. Test structural stability by applying gentle pressure at various points to confirm no movement occurs.
Repair and Replacement
Scratching materials naturally wear with use and require periodic replacement. Carpet covering can be updated by stapling new material over old. Sisal rope can be re-wrapped when existing rope becomes heavily frayed. These repairs maintain functionality and safety while extending structure longevity. Planning for periodic maintenance during initial design makes upgrades simpler and more affordable.
Common Questions About DIY Cat Trees
What’s the ideal height for a cat tree?
Floor-to-ceiling designs maximize vertical space most cats prefer. If space constraints prevent full ceiling height, aim for at least 5-6 feet. Taller structures provide greater perching variety and exercise opportunities.
How much does a DIY cat tree cost compared to commercial options?
DIY projects typically cost $50-$200 depending on complexity and material choices. Commercial cat trees often exceed $300-$500. Significant savings accumulate especially for elaborate designs.
Can renters install floor-to-ceiling cat trees?
Yes, tension-based designs using expandable poles avoid permanent wall modifications. These non-permanent installations suit rental situations while providing full functionality.
How do I choose carpet for cat tree platforms?
Short-pile, industrial-grade carpet withstands scratching better than soft residential carpet. Carpet tile systems allow easy replacement of worn sections. Ensure the carpet is securely stapled to prevent snagging.
Are there safety concerns with DIY construction?
Proper construction methods and material selection eliminate most safety issues. Ensure all fasteners are covered, edges are sanded smooth, and materials are non-toxic. Adequate structural stability prevents tipping or collapse.
References
- 14 Free DIY Floor to Ceiling Cat Trees (With Pictures) — Catster. Accessed 2025. https://www.catster.com/lifestyle/diy-floor-to-ceiling-cat-tree-plans/
- DIY Cat Tree — The Home Depot. September 7, 2023. https://www.homedepot.com/c/ah/diy-cat-tree/9ba683603be9fa5395fab901267ba503
- Full Size Cat Scratching / Climbing Post: 7 Steps — Instructables. https://www.instructables.com/Full-size-cat-scratching-climbing-post/



