

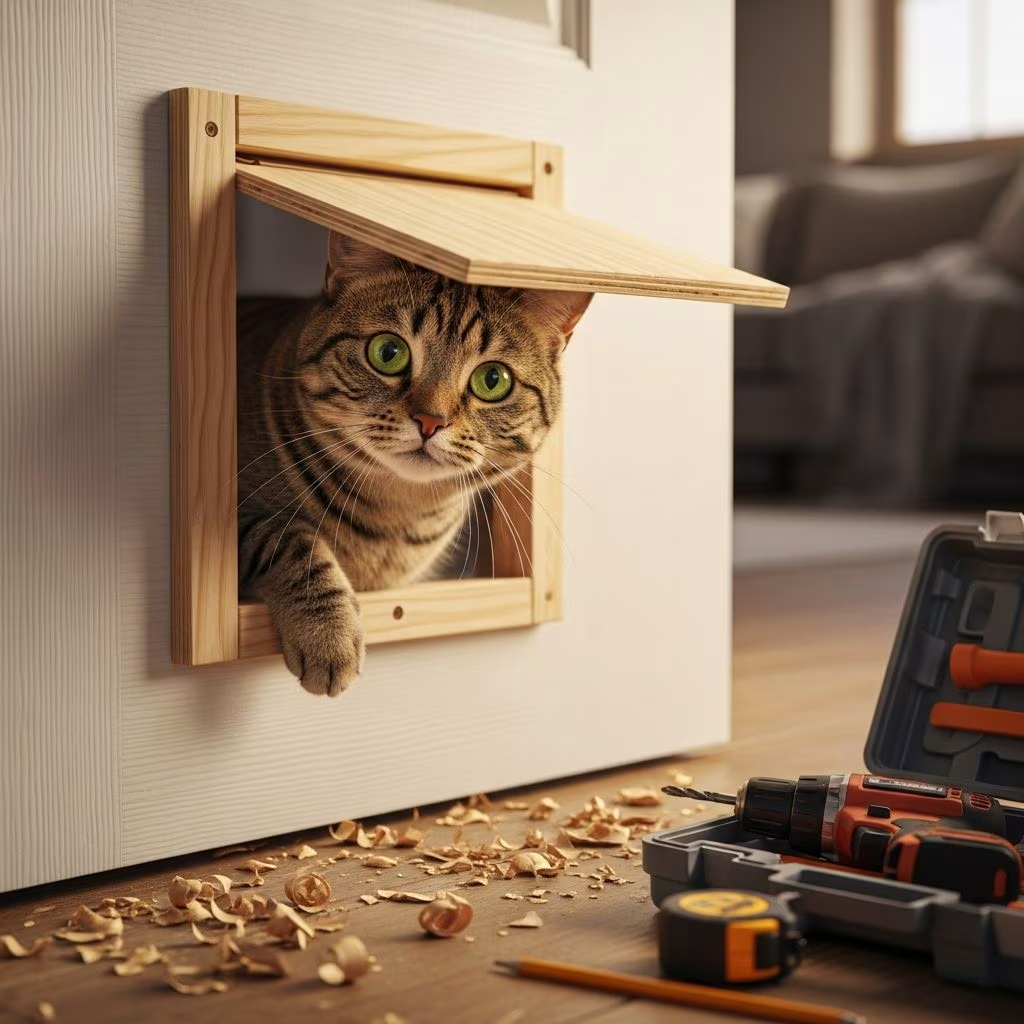
Creating a custom cat door allows pet owners to grant their cats independent access between rooms, basements, or even outdoors without constant human intervention. This hands-on project uses basic woodworking skills and common tools, making it accessible for most homeowners. By building your own, you control the size, location, and features to perfectly suit your cat’s needs and your home’s layout.
Why Opt for a Homemade Cat Access Point?
Store-bought cat flaps can be pricey and may not fit oddly shaped doors or specific pet sizes. A DIY version lets you customize dimensions—typically 6-8 inches high and 5-7 inches wide for average cats—while incorporating features like locking mechanisms or weatherproofing. Benefits include cost savings (under $50 often), precise fitting, and the satisfaction of a personalized project. Cats gain freedom to explore, eat, or rest without waking you at night, improving household harmony.
Essential Tools and Materials Roundup
Gather these items before starting to ensure smooth progress:
- Circular saw, jigsaw, or reciprocating saw for precise cuts
- Drill with bits (1/2-inch spade bit ideal for starters)
- Screwdriver set (Phillips head)
- Pencil, measuring tape, and level for accuracy
- Sandpaper (120-220 grit) and wood filler
- Safety gear: goggles, dust mask, gloves
- Wood planks (1×2 or 1×4 pine), screws, hinges, and acrylic/plexiglass for flap
- Masking tape to prevent splintering
For exterior doors, add silicone sealant and weatherstripping. Total prep time: 30 minutes.
Planning the Perfect Installation Spot
Choose a location 10-12 inches above the floor to match a cat’s natural jumping height, avoiding drafts or high-traffic areas. Measure door thickness—solid wood handles cuts better than hollow-core. For interior doors like basements, center the flap near the bottom edge. Test with your cat: hold a template and observe if they comfortably pass through. Use a paper template scaled to your design, taped securely, to mark cuts accurately.
Mastering the Cutting Process Safely
Safety first: remove the door from hinges by tapping out pins with a screwdriver and hammer, then lay it on sawhorses.
- Apply masking tape over cut lines to minimize chipping, especially on veneered surfaces.
- Drill starter holes (1/2-inch) at each corner of the template outline, angling slightly to avoid blowout.
- Insert jigsaw blade into a starter hole and follow the line slowly, letting the tool do the work—avoid forcing it.
- For angled or corner designs, use a circular saw for straight edges, then jigsaw for curves.
Clear sawdust immediately and sand edges smooth for a clean flap motion.
Assembling a Sturdy Flap Mechanism
The flap is the heart of your cat door. Cut plexiglass or thin plywood to size, beveling edges for smooth swinging.
- Build a frame from 1×2 lumber: measure hole dimensions, cut four pieces, glue and clamp, then screw into place around the opening on both door sides.
- Attach hinges to the top of the flap frame, ensuring clearance for full swing.
- Add a latch or slide lock for security—drill matching holes and secure with provided hardware.
- For dual-sided install, align frames precisely before screwing.
Test flap movement: it should swing freely both ways without binding.
Step-by-Step Interior Door Transformation
Interior installs, like basement access, are beginner-friendly.
| Step | Action | Tools Needed |
|---|---|---|
| 1. Prep | Sand and paint door if desired | Sandpaper, paint |
| 2. Mark | Tape template, trace outline | Pencil, level |
| 3. Drill | Four corner holes | Drill, spade bit |
| 4. Cut | Jigsaw along lines | Jigsaw, tape |
| 5. Frame | Install wood borders inside hole | Saw, glue, screws |
| 6. Flap | Hang hinged plexiglass | Hinges, screwdriver |
| 7. Finish | Sand, fill gaps, reinstall door | Sandpaper, filler |
This process takes 1-2 hours, yielding a seamless room-to-room passage.
Taking It Outdoors: Weatherproofing Essentials
Exterior doors demand durability. Reinforce the frame with metal flashing, seal edges with silicone, and choose UV-resistant flap material. Position away from prevailing winds. For glass doors, use suction-cup panels or adhesive frames—no cutting required. Security tip: Install a 4-way locking flap to prevent unwanted wildlife entry.
Creative Alternatives Beyond Standard Doors
Not every home has ideal doors.
- Windows: Cut into sash frames or use magnetic overlay flaps.
- Walls: Frame a drywall hole with 2×4 studs, add insulation.
- Cabinets: Mini-flaps for food access, using drawer slides.
- Security Screens: Bolt-cut grilles, fit snap-in frames.
Adapt measurements to surface thickness for stability.
Troubleshooting Common DIY Hiccups
Issues arise—here’s how to fix them:
- Splintered edges: More tape or slower saw speed next time; sand aggressively.
- Misaligned flap: Loosen screws, re-level, and shim if needed.
- Cat reluctance: Prop open for days with treats to encourage use.
- Dog interference: Size flap smaller or add a vertical block.
Patience ensures success.
Enhancing Functionality with Upgrades
Elevate your build:
- Microchip-activated flaps for selective access.
- Lighted edges for nighttime visibility.
- Insulated flaps for cold climates.
- App-controlled locks via smart home integration.
These add-ons extend usability year-round.
Frequently Asked Questions
Can I install a cat door in a metal door?
Yes, use a metal-cutting jigsaw blade and reinforcing plates; avoid thin hollow types.
How long does a DIY cat door last?
5-10 years with proper materials; weatherproofing extends outdoor life.
Is it legal to cut into rental property doors?
Check lease; use removable panels or seek landlord approval.
What if my cat is extra large?
Scale up to 10×8 inches, test with their body width plus clearance.
Tools for beginners?
Jigsaw and drill suffice; rent if needed.
Maintenance for Longevity
Quarterly checks: lubricate hinges with WD-40, clean flap tracks, inspect seals. Replace flap every 3-5 years if warped. This keeps your investment functional and safe.
References
- How to Install a Cat Door — Kitty Korner Door. Accessed 2026. https://kittykornerdoor.com/blogs/news/how-to-install-a-cat-door
- How to Install a Cat Door in Your Home — PetDoors.com. Accessed 2026. https://www.petdoors.com/blogs/dog/install-cat-door
- Learn How to Install a Simple DIY Cat Door for an Interior — Bigger Than The Three of Us. Accessed 2026. https://biggerthanthethreeofus.com/basement-door-before-and-after/
- How to install a Cat Flap in UNDER 20 MINUTES — YouTube (Transcript). Accessed 2026. https://www.youtube.com/watch?v=xFp-LCKhet8
- Pet Doors for Cats and Dogs – D.I.Y FITTING INSTRUCTIONS — Petway. Accessed 2026. http://www.petway.com.au/pet-doors-cat-dog-diy.html



